Today’s blog post is all about refreshing your hair on day two or three after shampooing. You’ll learn exactly how to protect and style your hair for a fresh, healthy look.
You can also check out the
full informational video as well!
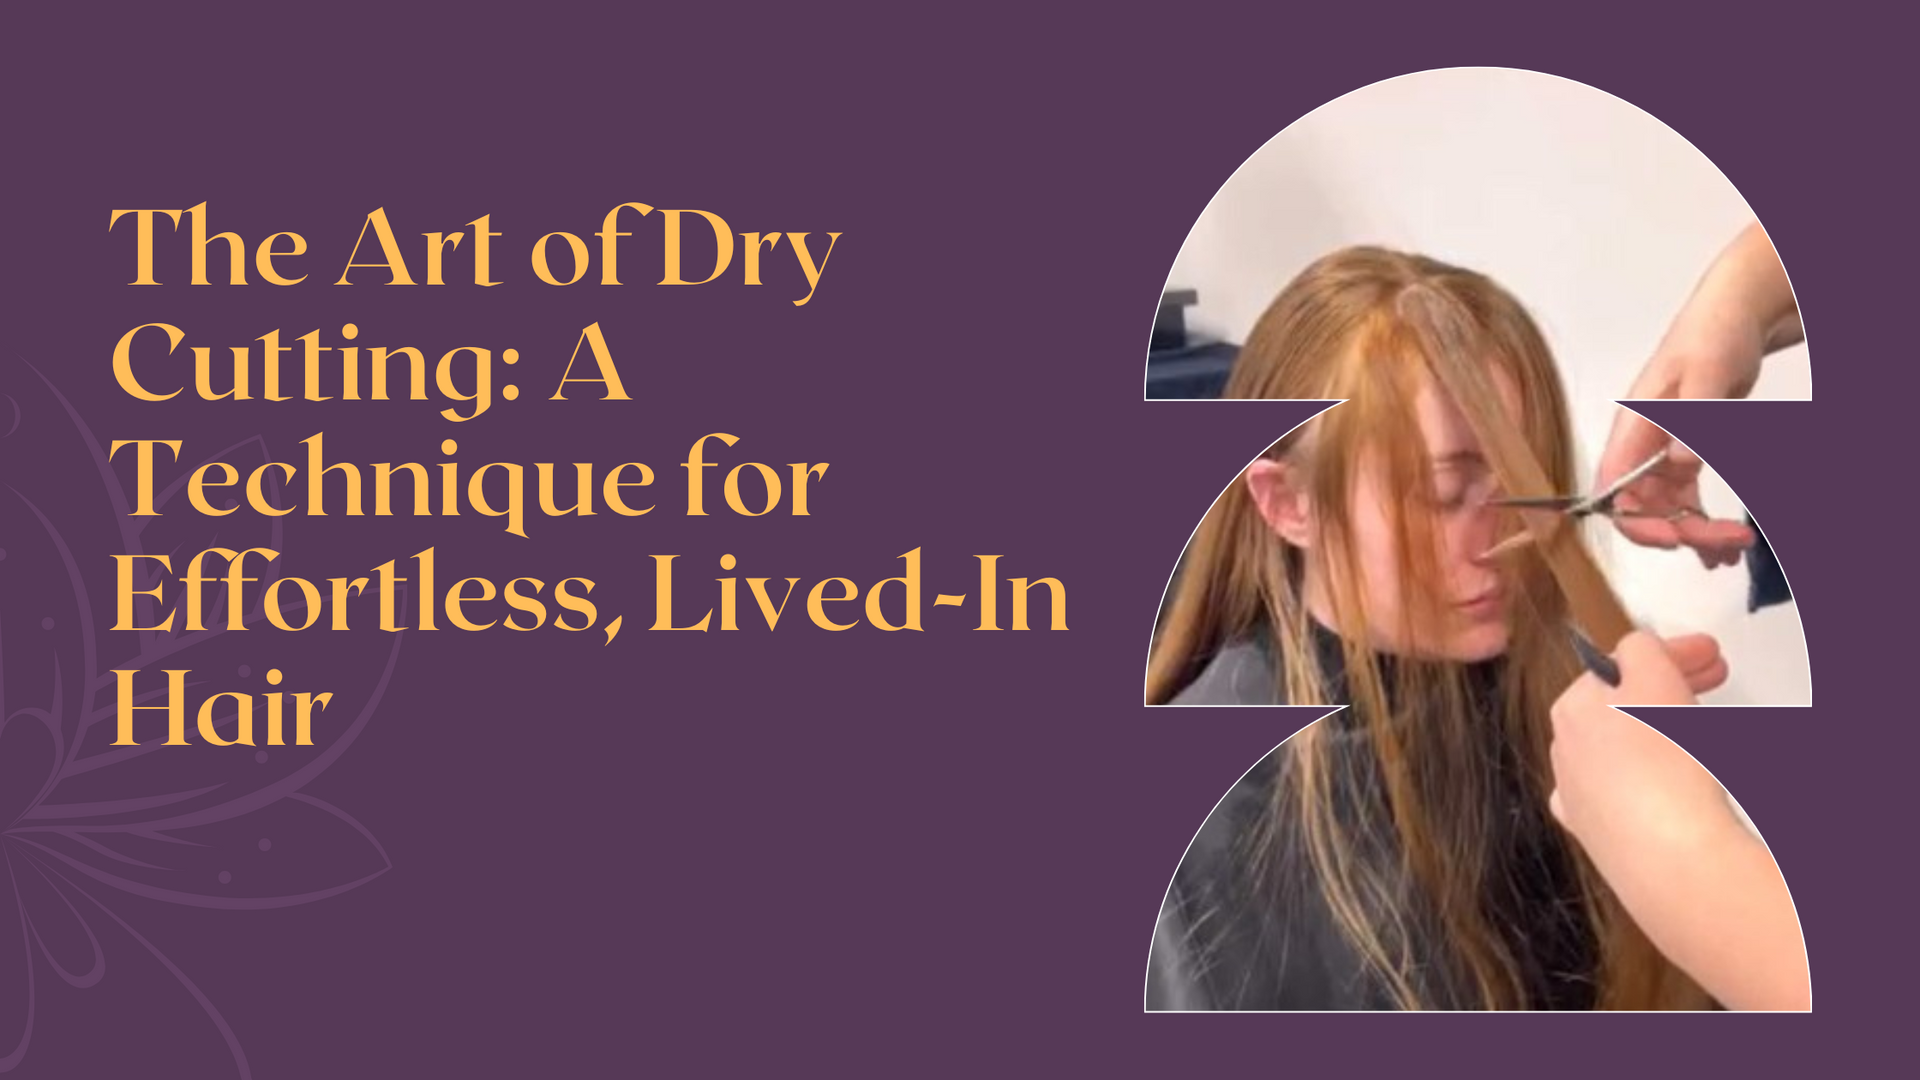
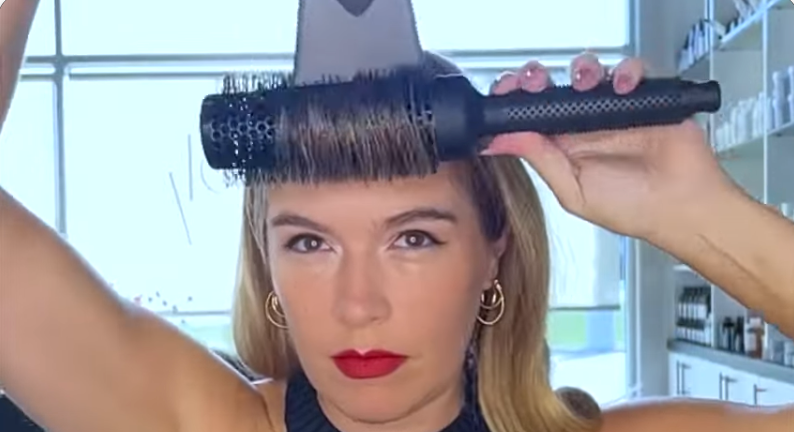
Step 1: Blow-Dry
For this step, we recommend using the
Oribe
Mystify Restyling Spray. We love that this spray reactivates the products that are already in your hair while also providing heat protection. Plus, it contains ingredients to nourish and strengthen your hair, which is great if you frequently restyle it between washes.
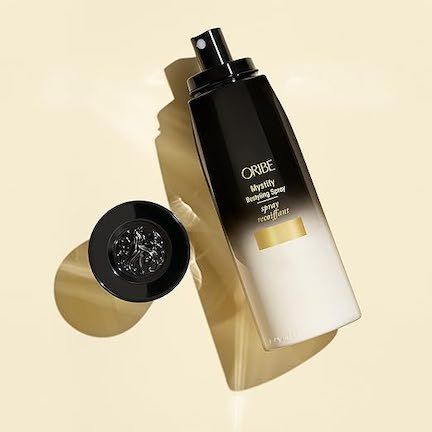
Image source: Oribe/Amazon
Start by lightly spraying the areas that you plan to restyle. You can apply this product to the entirety of your hair or focus on specific areas, like your bangs, before blow-drying with a round brush and concentrator nozzle attachment. This provides lots of shine and refreshes the look of your hair.
Step 2: Use Dry Shampoo
Next, you’ll need dry shampoo - our favorite is the
Oribe Gold Lust Dry Shampoo. This product instantly absorbs excess oil from your hair and scalp, giving it the appearance of being freshly washed even days after your last shampoo. It can help maintain the vibrancy of your color and the overall
health of your hair.
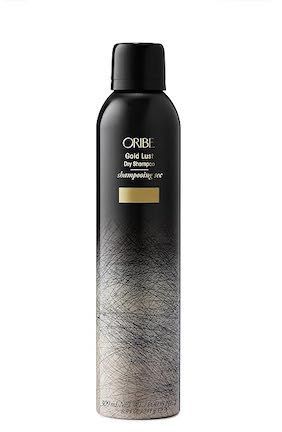
Image source: Oribe/Amazon
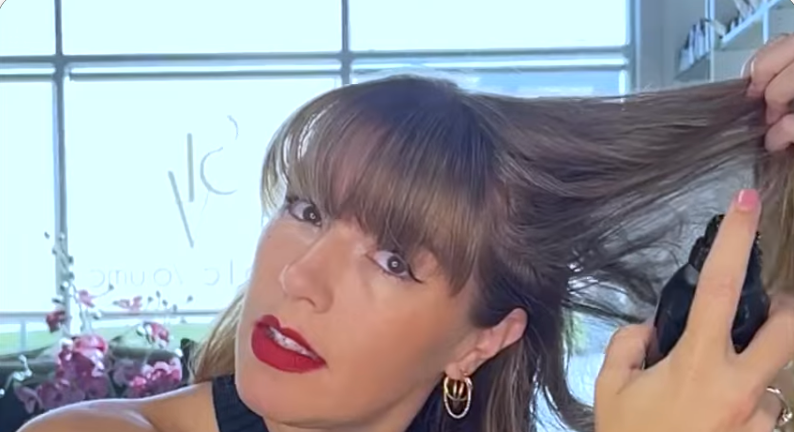
Pro Tip:
You don’t have to wait until day two or three after shampooing to use dry shampoo! You can also use it on day-one hair to absorb oil as it’s produced.
Simply lift sections of your hair and spray the product underneath, aiming at the roots. This will freshen up the look of your root area and absorb any excess oil.
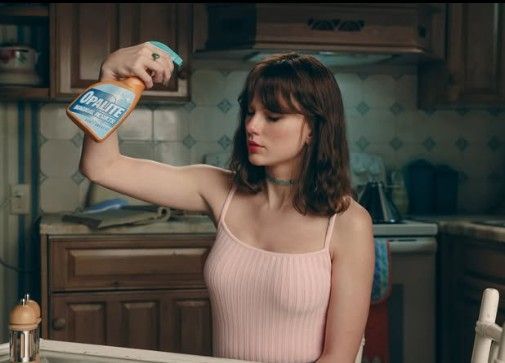
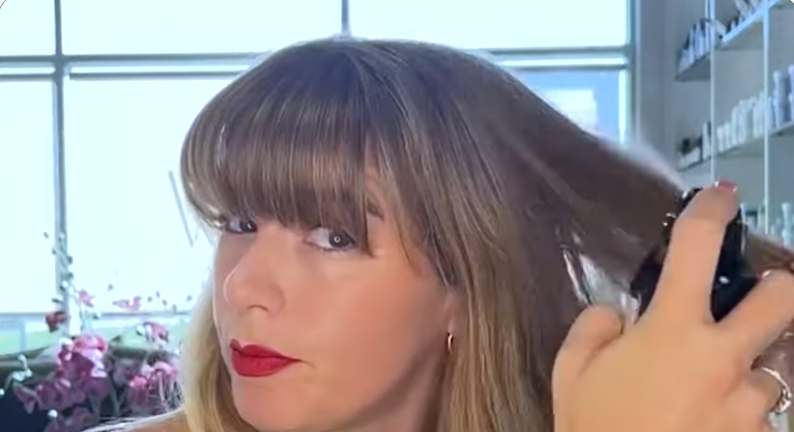
Step 3: Apply Heat Protectant
Before restyling with heat, we like to use the
Oribe
Gold Lust Dry Heat Protection Spray. This provides the ultimate heat styling protection–up to 450 degrees Fahrenheit! It also functions as a dry conditioning spray, leaving your hair silky soft and frizz-free with its smoothing and revitalizing ingredients.
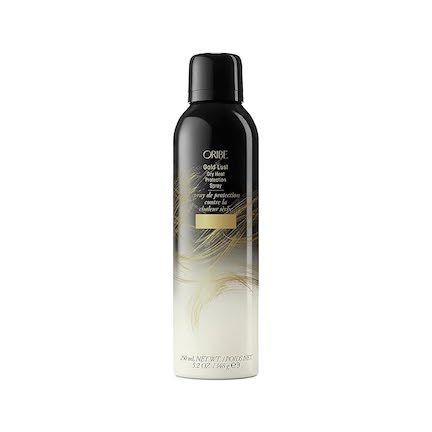
Image source: Oribe/Amazon
Just like with the dry shampoo, lift your hair and spray the product throughout.
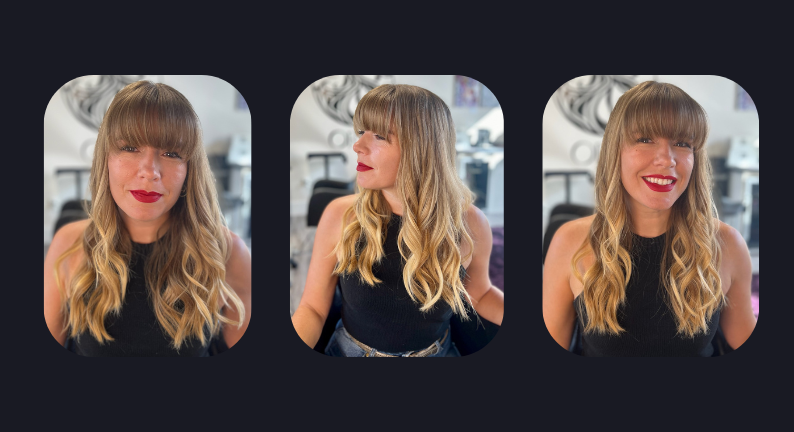
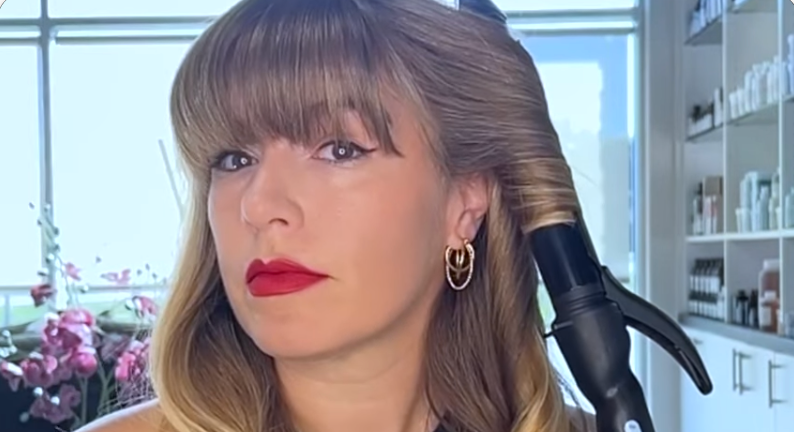
Step 4: Create Beachy Waves
Now that we’ve fully prepped our hair, it’s time to style it into soft, beachy waves using the 1¼” Bio Ionic Long Barrel Styler. This is a high-quality professional curling iron with a long barrel that’s great for getting even coverage on long hair. It has Nanolonic MX technology that helps seal the cuticle, lock in moisture, create long-lasting curls, and add shine.
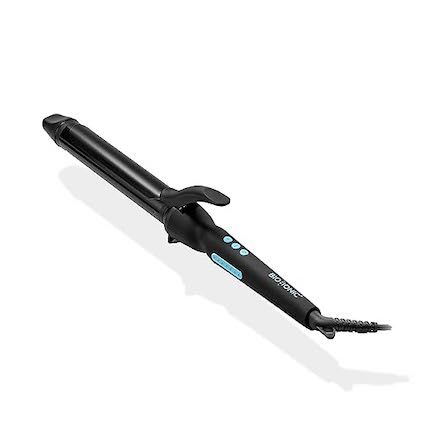
Image source: Bio Ionic/Amazon
For loose curls, we recommend alternating between curling sections toward and away from your face. This makes the style look softer and more natural.
Pro Tip:
When curling a section of hair, start by leaving some of the ends out and then work your way up toward the scalp, wrapping the hair around the barrel of the curling iron. Hold for several seconds, and then twist the hair as you slowly release it.

The size of your sections will depend on the thickness of your hair, but each section should generally be around one to two inches. Divide your hair in half, placing each half over one shoulder. Start curling pieces at the back of one side and work your way forward, toward your face.
After you curl one section of hair, the next section should go in the opposite direction. If you curled the first section away from your face, curl the next section toward your face.
Once you reach the last section (the one closest to your face), curl it toward the back of your head for a face-framing look. Then, repeat the process on the second side.
Step 5: Complete the Look
It’s important to let your hair fully cool to set the curls. Avoid touching your hair while it’s still warm from the curling iron!
While your hair is cooling off, you can use a finishing spray - we love the Oribe Imperméable Anti-Humidity Spray. It’s lightweight, gives your hair a nice shine, and keeps it from growing and getting frizzy in humid weather.
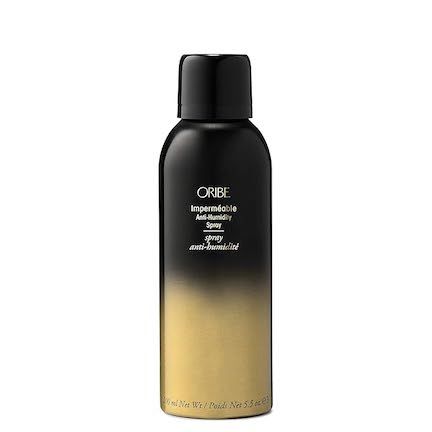
Image source: Oribe/Amazon
Spray it throughout your hair, being careful not to touch the curls yet.
Once your hair is completely cooled off, gently rake through it with your fingers to break up the curls. This will give your hair a nice tousled appearance with the curls flowing back and forth, so the hair isn’t all going in one direction.
And voila - in just five short steps, you’ve got a relaxed, beachy look that’s perfect for second- to third-day hair!