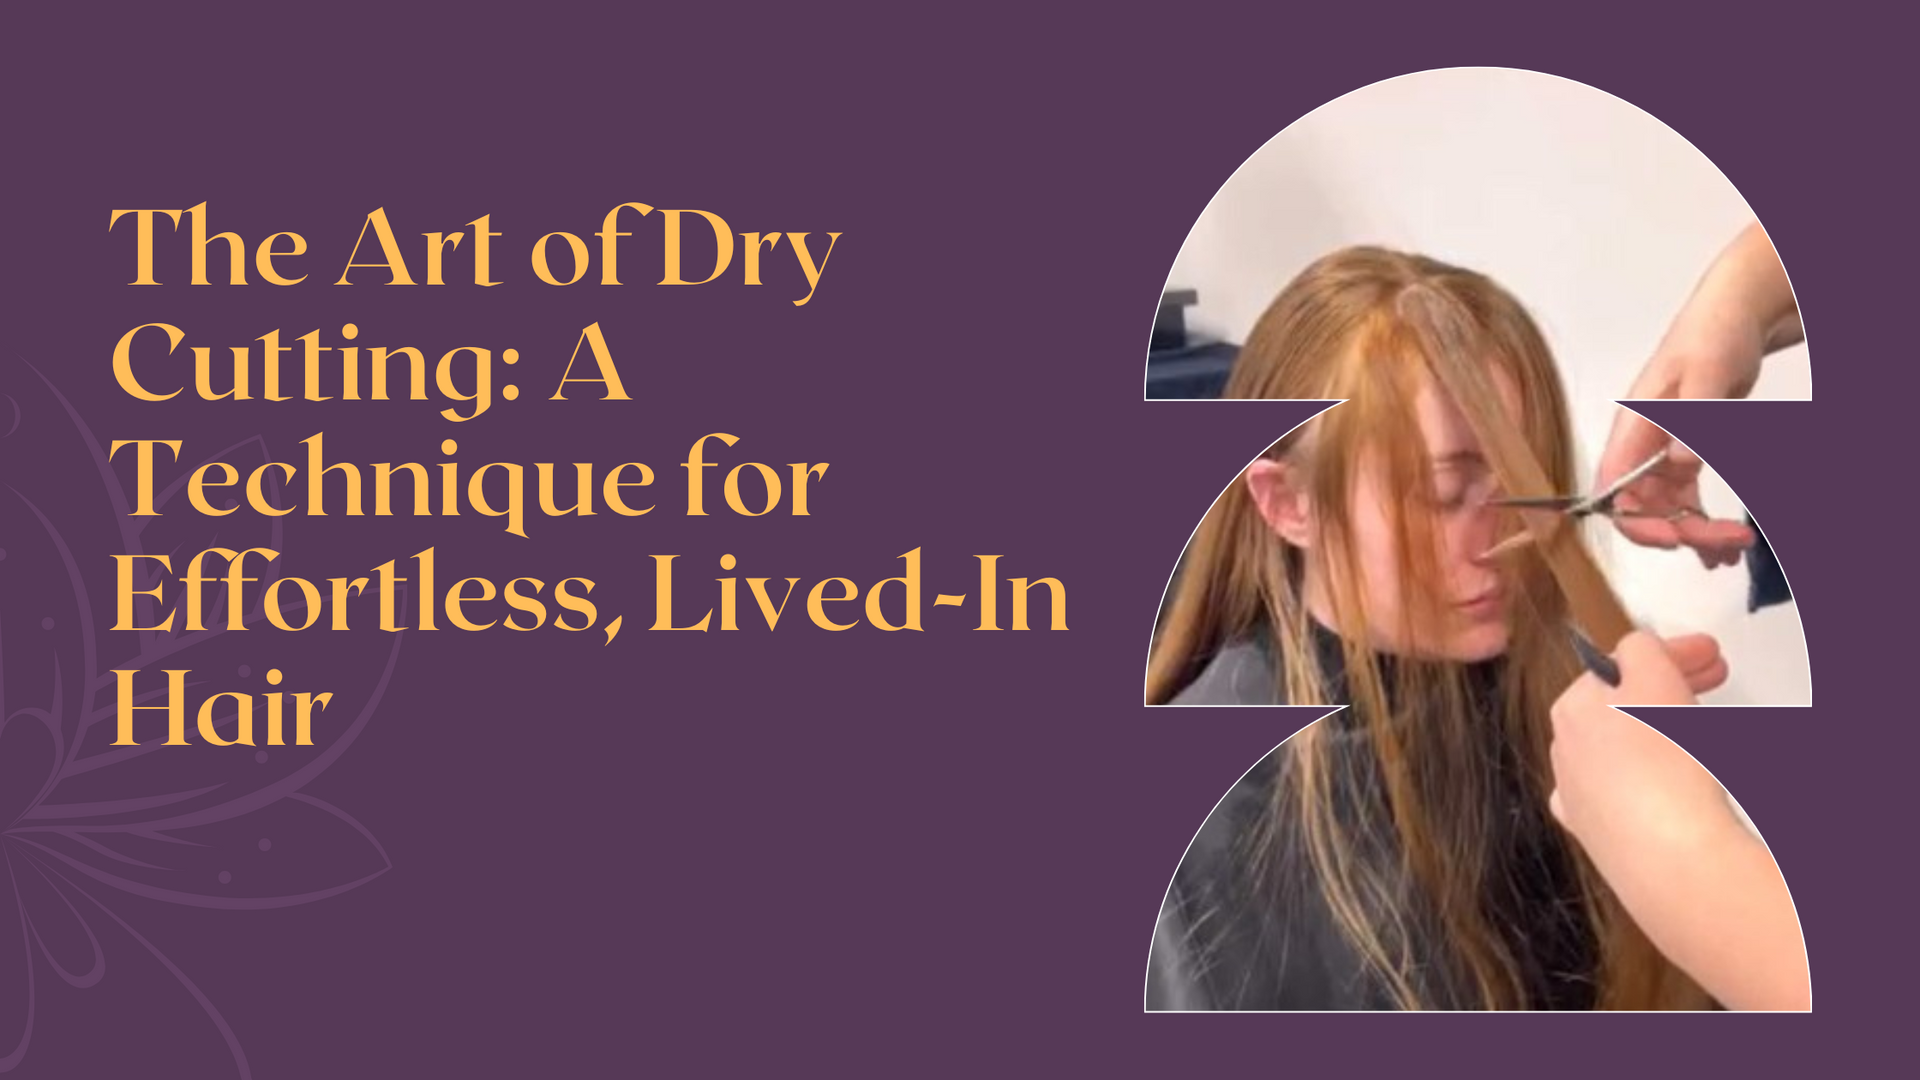
Achieving a Lived-In Ombré Look: A Colorist's Step-by-Step Breakdown
Transforming hair can be a rewarding process, especially when the results leave the guest glowing with confidence. Recently, we had the pleasure of creating a stunning, lived-in ombré look for a guest who wanted to refresh her style while keeping her hair healthy and dimensional. Here’s a detailed look at how our colorist achieved her beautiful transformation.
Step 1: The Pre-Color Cut
Before diving into the color process, we started with a dry cut, removing 4 inches of length. Since the guest wanted to cut off a total of 7 inches, this initial cut allowed us to save both time and product during the color application.
Step 2: Preparing the Hair
Healthy hair is the foundation of any beautiful color. We began the service with the K-18 Molecular Repair Mist, a game-changer for preventing damage during the bleaching process. This step helps ensure the hair stays strong and healthy throughout the service.

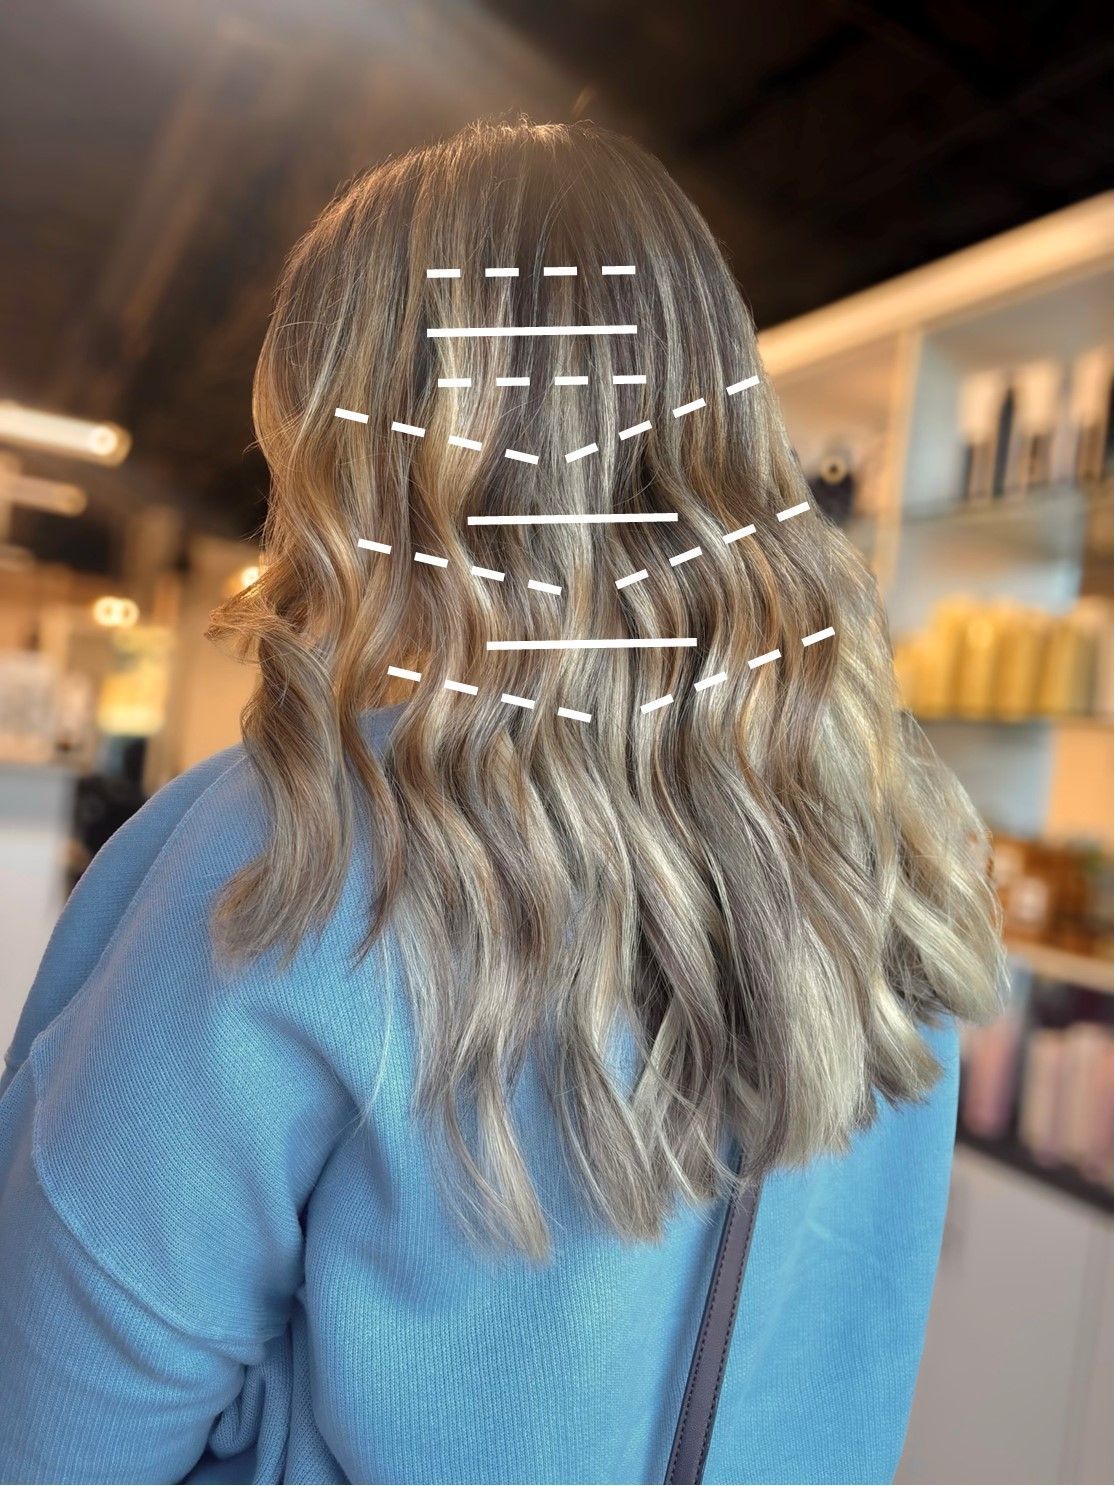
Step 3: Applying the Color
The guest requested a modern twist on the classic ombré look—a more lived-in style with subtle dimension at the ends.
Here’s how we achieved it:
• Bricklay Foil Pattern:
Using a bricklay technique and Schwarzkopf BlondMe lightner, we alternated between thicker weaves and a few slices to ensure maximum coverage while maintaining a soft, blended effect.
• Teasing for a Seamless Blend:
To enhance the natural transition between shades, we teased sections of hair before foiling.
• Tip-Outs for Dimension:
After every few foils, we went back to the unfoiled sections, weaving and teasing them for tip-outs. This step ensured no strand was left untouched, resulting in a dimensional, blended finish.
Step 4: Processing and Toning
Once the foils were processed, it was time to refine and enhance the color:
• Root Melt:
We applied an equal mix of Schwarzkopf Vibrance 5-0 and 6-0 at the roots, blending it through the midshaft for a soft, natural gradient.
• Global Toner:
For the lengths, we used a custom blend of Schwarzkopf Vibrance 9-0, 9-5,4, and 9-65 to create a balanced, luminous tone with warmth and richness.

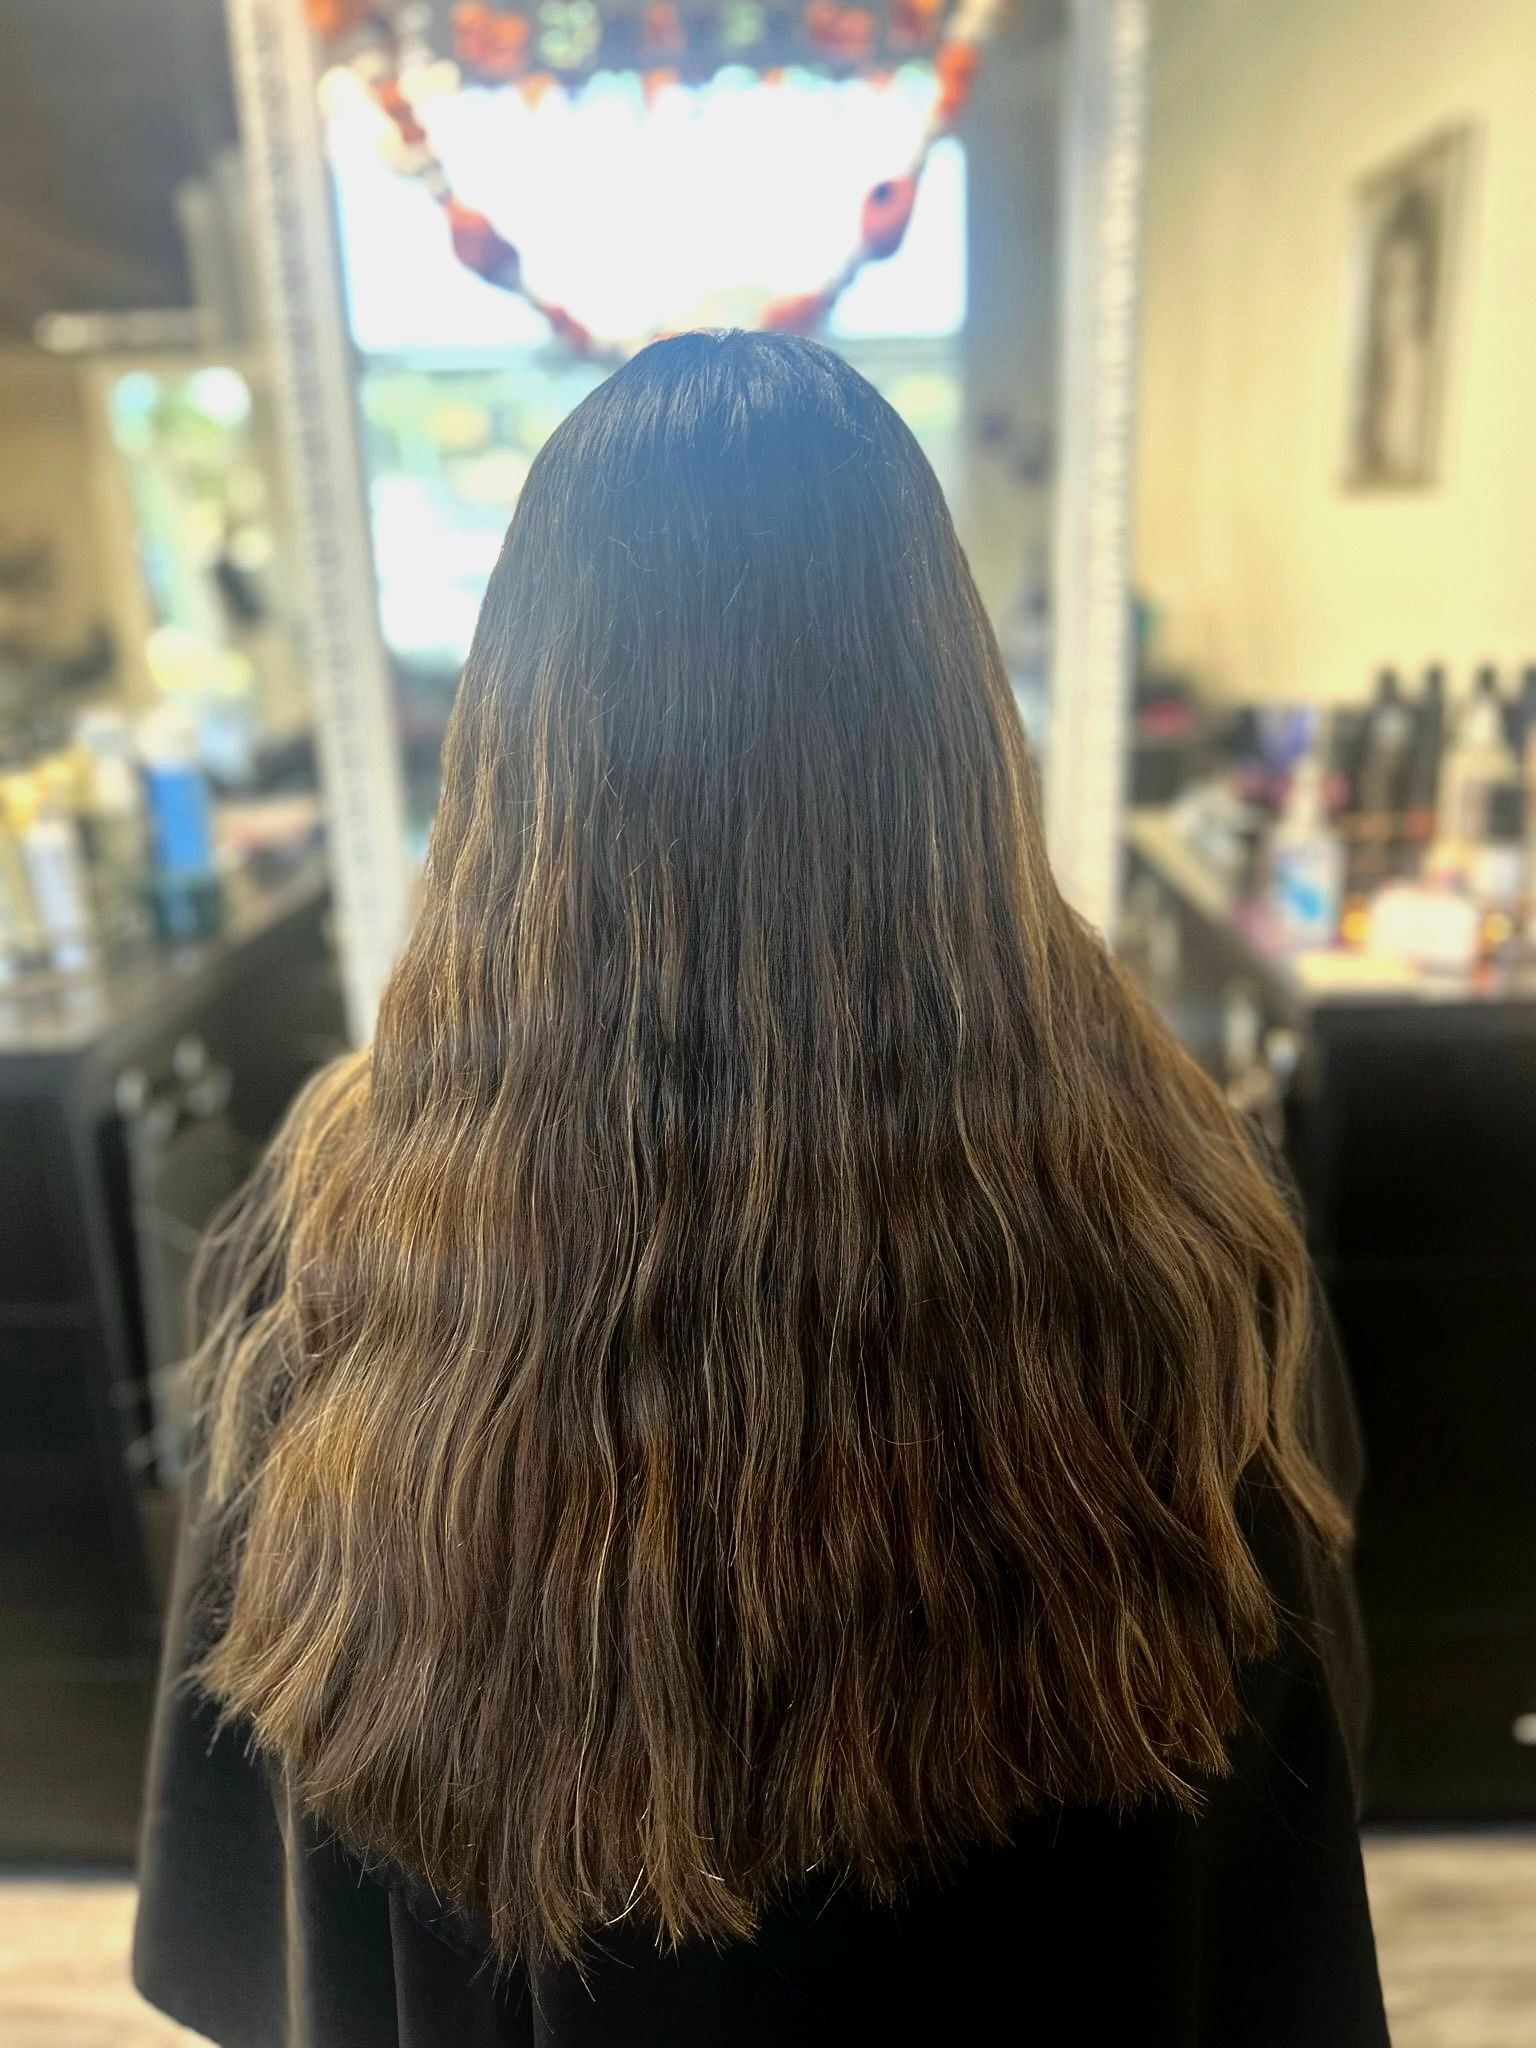
Step 5: The Final Cut and Style
To complete her look, we removed an additional 3 inches, giving her a total of 7 inches off. We then added long layers and face-framing pieces to enhance movement and frame her features beautifully.
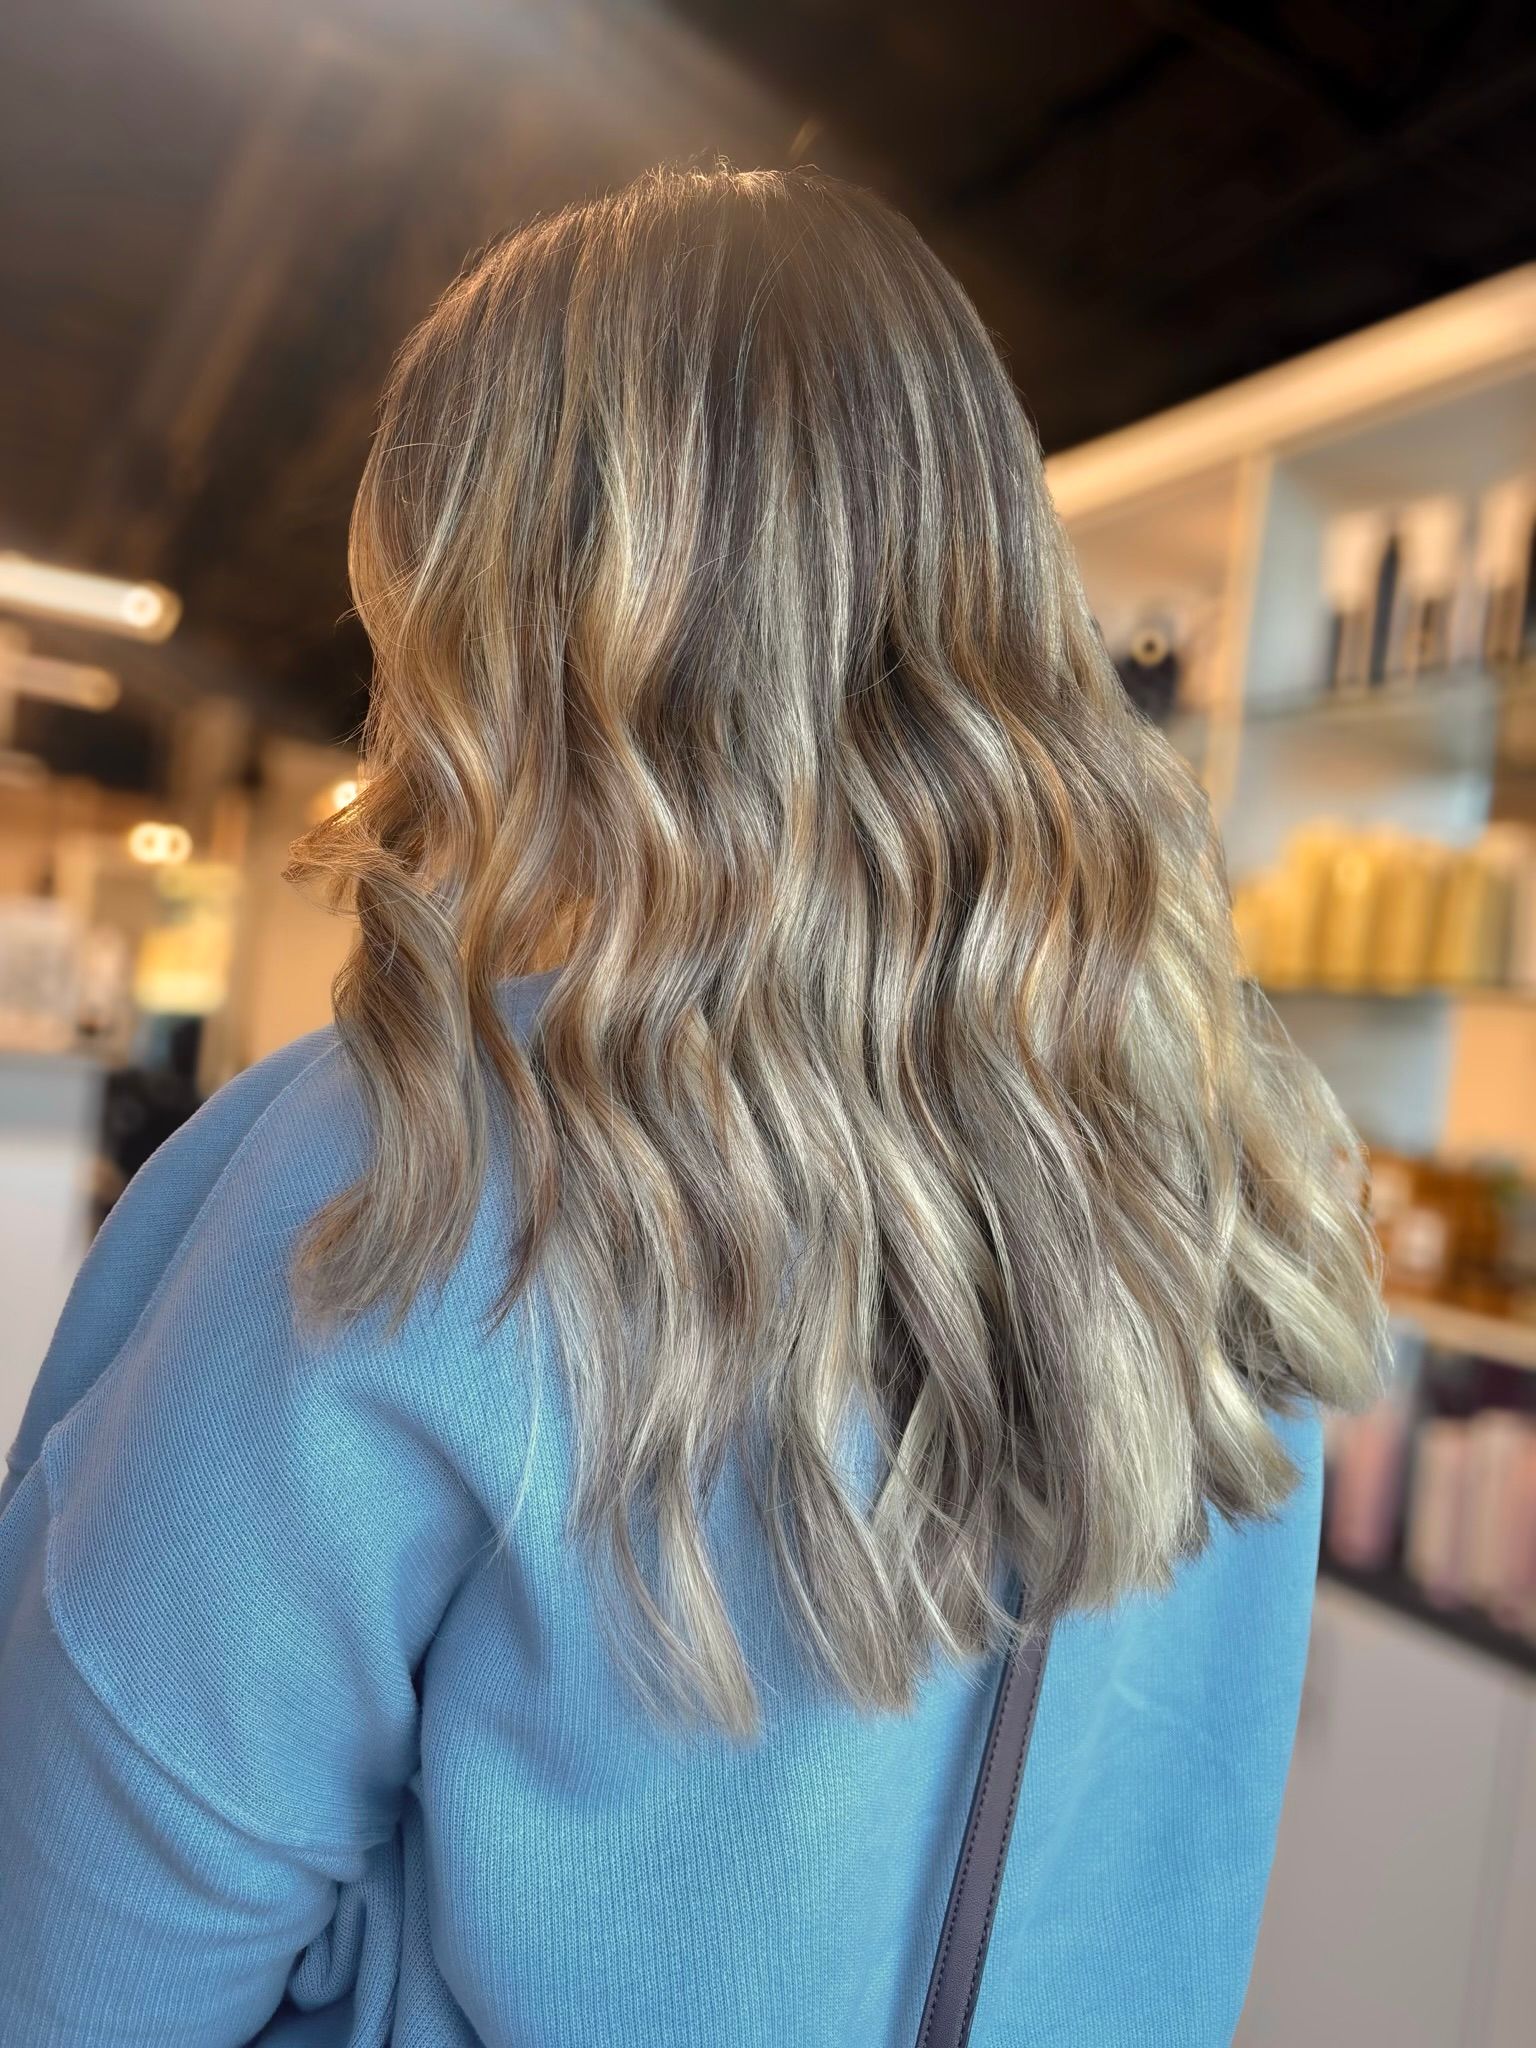
The Result
The final look was a stunning, lived-in ombré with soft dimension and natural movement. By combining
precise cutting techniques with a
tailored color process, we achieved a style that feels fresh, modern, and effortlessly chic.
If you’re considering a transformation like this, let’s chat about how we can create a look tailored specifically to you. Head turning hair results is just an appointment away! Schedule your consultation with the expert hair stylists at Salon Le Volume.